In this video, I demonstrate the functionality of my interactive music interface. I start by clicking on each of the on-screen circles in the Processing visual interface, triggering the corresponding drum sounds (kick, hi-hat, snare, and tom). Then, I interact with the physical interface by pressing the push button, which triggers the kick drum sound. This video highlights how I integrated the on-screen controls with the physical button, showing how responsive and interactive the system is in real-time. It illustrates how I designed the interface to be versatile and user-friendly for audio-visual applications.
Arduino Code:
#define POT_PIN A0 // Pin for potentiometer
#define BUTTON 12 // Pin for button
#define PHOTO A1 // Pin for photoresistor
void setup() {
pinMode(POT_PIN, INPUT); // Configure potentiometer pin as input
pinMode(BUTTON, INPUT_PULLUP); // Configure button with pull-up resistor
pinMode(PHOTO, INPUT); // Configure photoresistor pin as input
Serial.begin(9600); // Initialize Serial communication
}
void loop() {
float potValue = analogRead(POT_PIN); // Read potentiometer value
float photoValue = analogRead(PHOTO); // Read photoresistor value
int buttonValue = !digitalRead(BUTTON); // Read button state (invert logic due to INPUT_PULLUP)
// Send data in a clean, structured format
Serial.print(potValue);
Serial.print(",");
Serial.print(photoValue);
Serial.print(",");
Serial.println(buttonValue); // Print all 3 values
delay(50); // Short delay for stability
}
Open Processing Code:
import processing.serial.*;
import processing.sound.*;
import processing.sound.*;
// Variables for Sound
SoundFile[] myDrums = new SoundFile[4];
SoundFile[] myDrums = new SoundFile[4];
// Serial Communication
Serial myConnection;
String serialValues = "";
Serial myConnection;
String serialValues = "";
// Sensor values
float potValue = 0; // Potentiometer value
float photoValue = 0; // Light sensor value
float kickBtnStateCurrent = 0; // Button current state
float kickBtnStatePrev = 0; // Button previous state
float potValue = 0; // Potentiometer value
float photoValue = 0; // Light sensor value
float kickBtnStateCurrent = 0; // Button current state
float kickBtnStatePrev = 0; // Button previous state
void setup() {
size(600, 300);
// Load drum sounds
myDrums[0] = new SoundFile(this, "BTAA0D7.WAV"); // Kick
myDrums[1] = new SoundFile(this, "HHOD0.WAV"); // Hi-hat
myDrums[2] = new SoundFile(this, "ST3T0S3.WAV"); // Snare
myDrums[3] = new SoundFile(this, "BT7A0D3.WAV"); // Tom
// Set up Serial connection
printArray(Serial.list()); // Print available ports
myConnection = new Serial(this, Serial.list()[3], 9600); // Update index if necessary
myConnection.bufferUntil('\n'); // Trigger serialEvent() on new line
}
void draw() {
background(0);
background(0);
// Circle controlled by Potentiometer (Size and Brightness)
float circleSize = map(potValue, 0, 1023, 50, 200);
float redBrightness = map(photoValue, 0, 1023, 0, 255);
// Red Circle - Potentiometer & Light Sensor
fill(redBrightness, 0, 0);
circle(100, 150, circleSize);
float circleSize = map(potValue, 0, 1023, 50, 200);
float redBrightness = map(photoValue, 0, 1023, 0, 255);
// Red Circle - Potentiometer & Light Sensor
fill(redBrightness, 0, 0);
circle(100, 150, circleSize);
// Static Circles for Drum Sounds
fill(0, 255, 0); // Hi-hat
circle(250, 150, 120);
fill(0, 255, 0); // Hi-hat
circle(250, 150, 120);
fill(0, 0, 255); // Snare
circle(400, 150, 120);
circle(400, 150, 120);
fill(255, 0, 255); // Tom
circle(550, 150, 120);
circle(550, 150, 120);
// Play kick drum if button is pressed
if (kickBtnStateCurrent > kickBtnStatePrev) {
myDrums[0].play();
}
if (kickBtnStateCurrent > kickBtnStatePrev) {
myDrums[0].play();
}
// Update previous button state
kickBtnStatePrev = kickBtnStateCurrent;
}
kickBtnStatePrev = kickBtnStateCurrent;
}
void serialEvent(Serial conn) {
// Read incoming serial data
serialValues = conn.readString();
// Debugging: Print raw data to console
println("Raw Serial Data: " + serialValues);
String[] values = split(serialValues.trim(), ','); // Split data into parts
// Read incoming serial data
serialValues = conn.readString();
// Debugging: Print raw data to console
println("Raw Serial Data: " + serialValues);
String[] values = split(serialValues.trim(), ','); // Split data into parts
if (values.length == 3) { // Ensure 3 values are received
// Parse sensor values
potValue = float(values[0]); // Potentiometer
photoValue = float(values[1]); // Light sensor
kickBtnStateCurrent = float(values[2]); // Button state (1 or 0)
// Parse sensor values
potValue = float(values[0]); // Potentiometer
photoValue = float(values[1]); // Light sensor
kickBtnStateCurrent = float(values[2]); // Button state (1 or 0)
// Debugging: Print parsed values to the console
println("Parsed Values: POT=" + potValue + ", PHOTO=" + photoValue + ", BUTTON=" + kickBtnStateCurrent);
} else {
// Debugging: Inform about malformed data
println("Data format error: " + serialValues);
}
}
println("Parsed Values: POT=" + potValue + ", PHOTO=" + photoValue + ", BUTTON=" + kickBtnStateCurrent);
} else {
// Debugging: Inform about malformed data
println("Data format error: " + serialValues);
}
}
void mouseReleased() {
// Simulate drum sounds with mouse clicks
if (dist(100, 150, mouseX, mouseY) < 60) {
myDrums[0].play(); // Kick drum
}
else if (dist(250, 150, mouseX, mouseY) < 60) {
myDrums[1].play(); // Hi-hat
}
else if (dist(400, 150, mouseX, mouseY) < 60) {
myDrums[2].play(); // Snare
}
else if (dist(550, 150, mouseX, mouseY) < 60) {
myDrums[3].play(); // Tom
}
}
Mode of Use
Live Performance or Pre-recorded Music?
Live Performance or Pre-recorded Music?
My interface is designed for live performance. Users interact with the hardware (button, potentiometer, and light sensor) to trigger sounds and control parameters in real time.
Sound Generation
How Will Noise Be Made?
The system uses pre-recorded audio files to generate sound. The Arduino sends sensor inputs to Processing, which triggers specific sampled drum sounds like kick, hi-hat, snare, and tom based on user interactions.
Visuals
What Kind of Visuals Will Accompany the Music?
The visuals include dynamic circles displayed in Processing. The red circle's size is controlled by the potentiometer, and its brightness is influenced by the photoresistor. These visuals respond interactively to the music, creating an engaging visual feedback loop.
Hardware
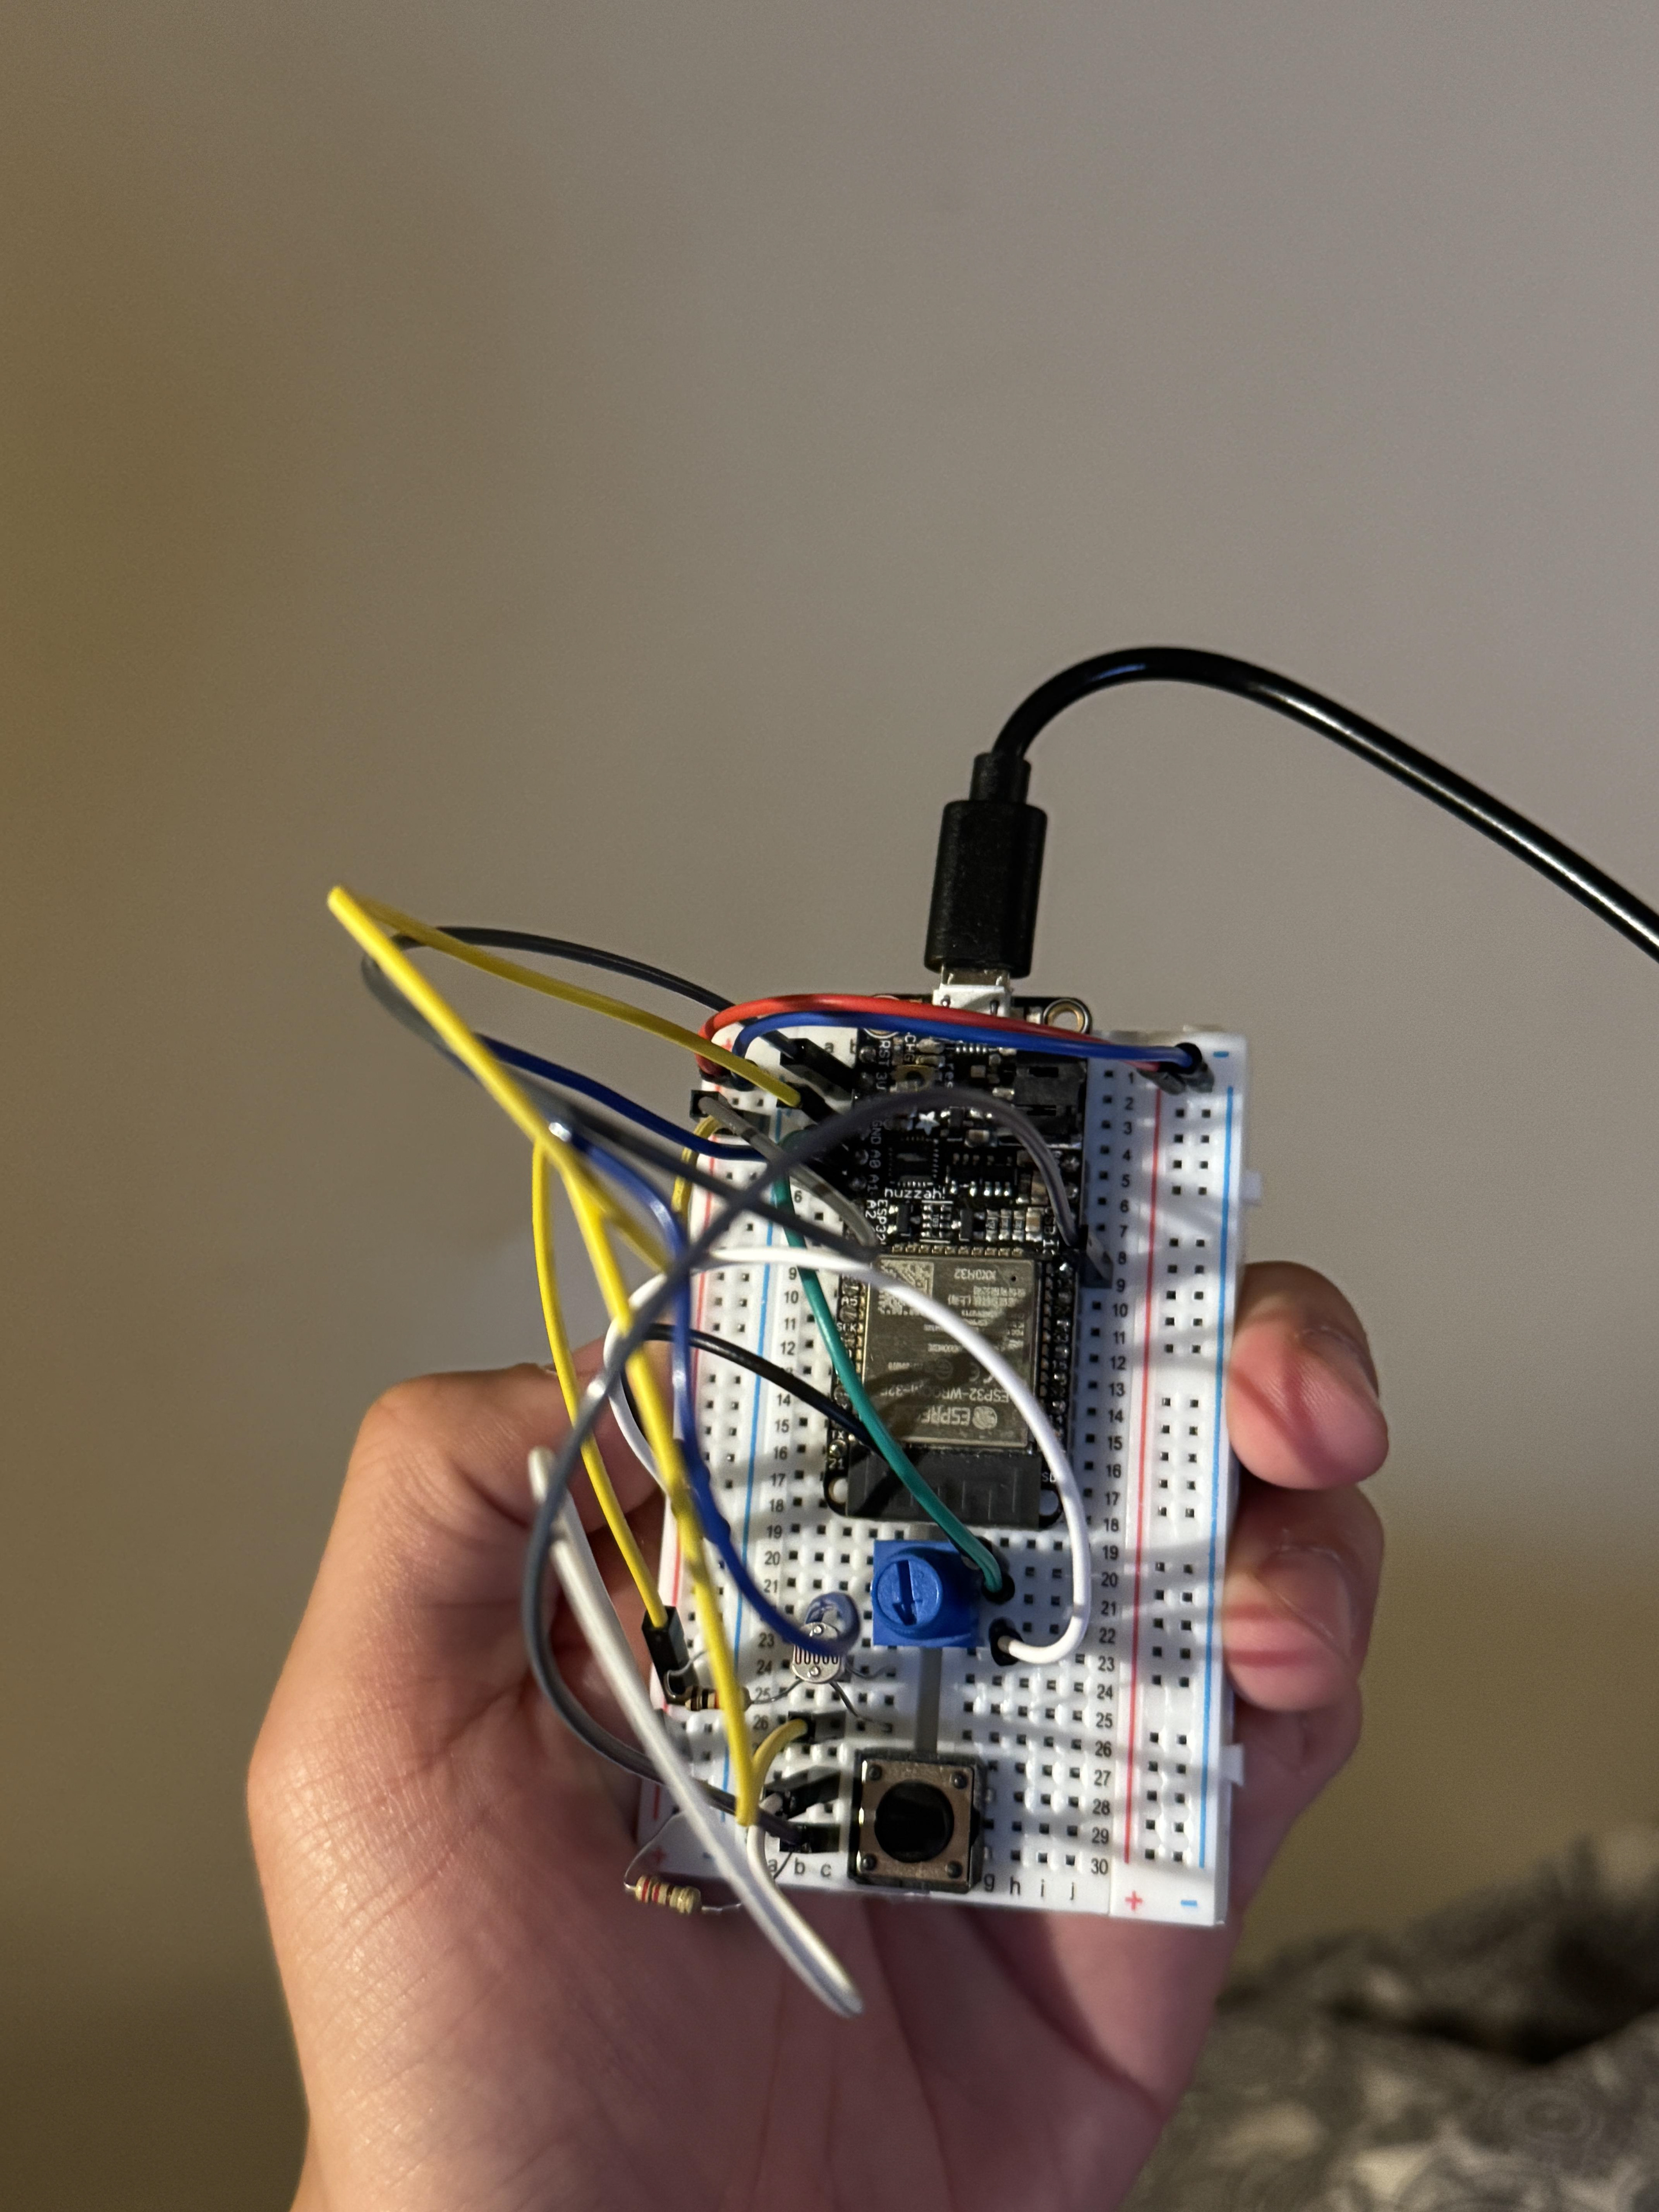
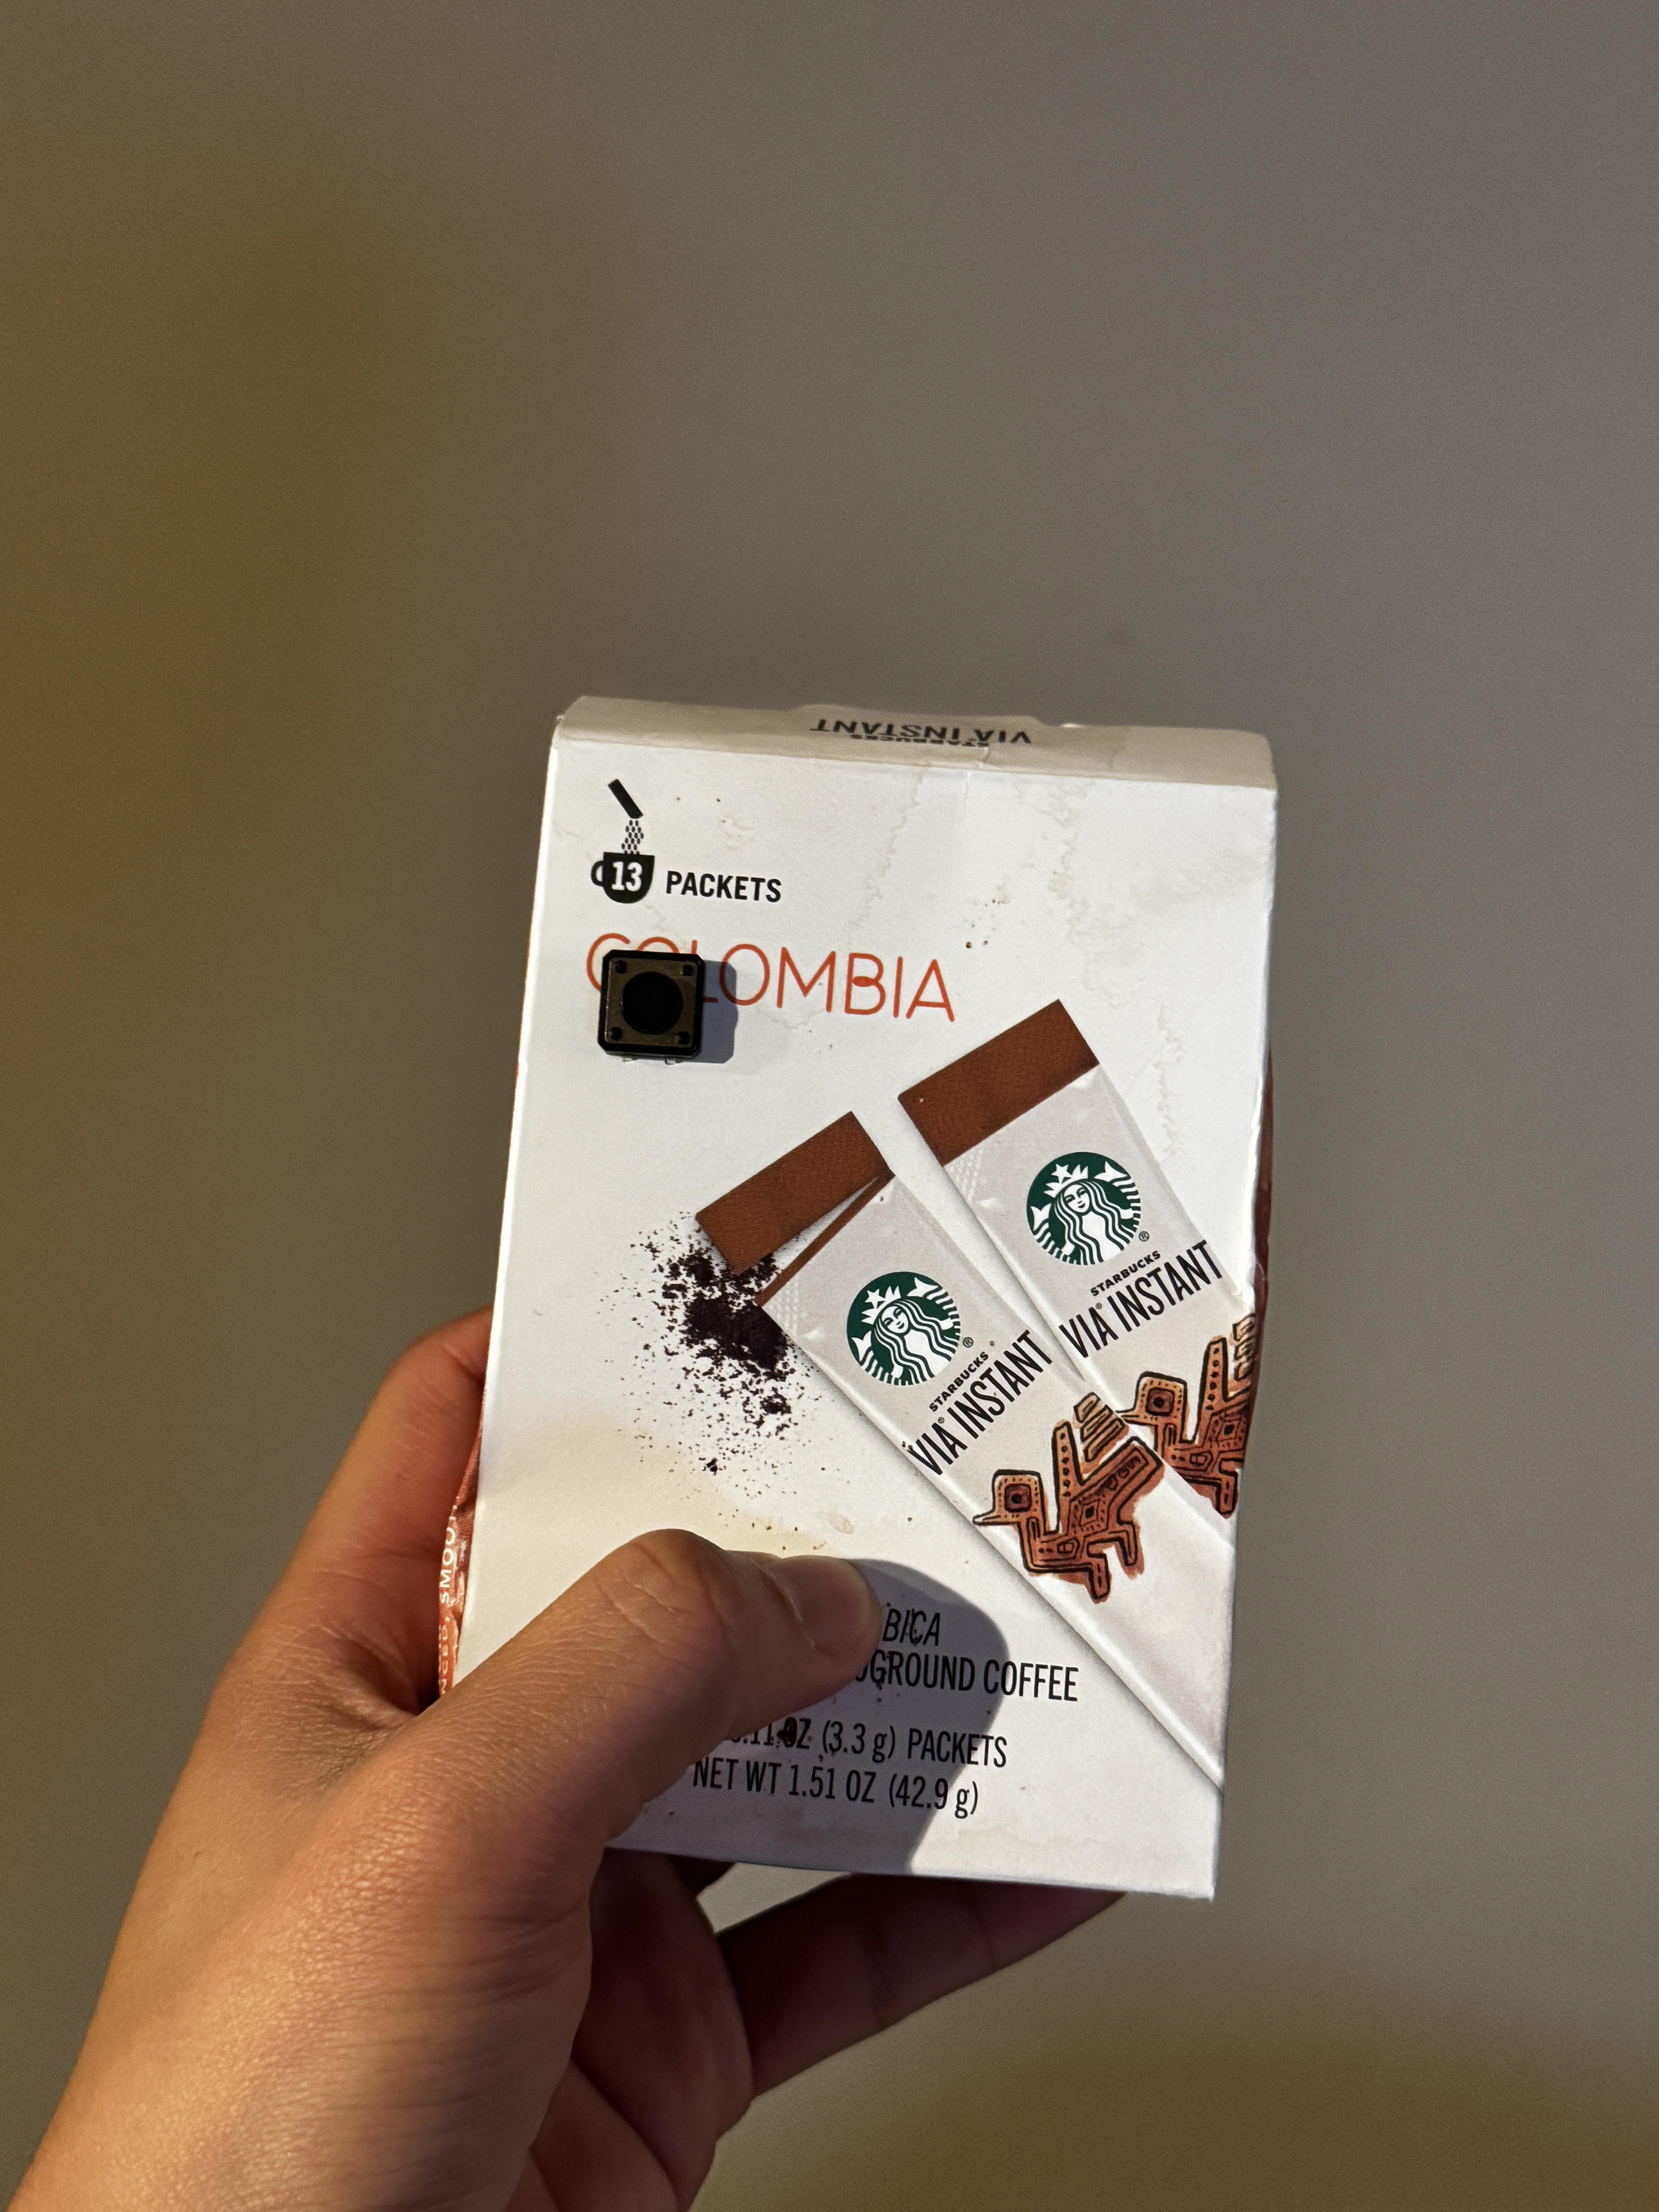
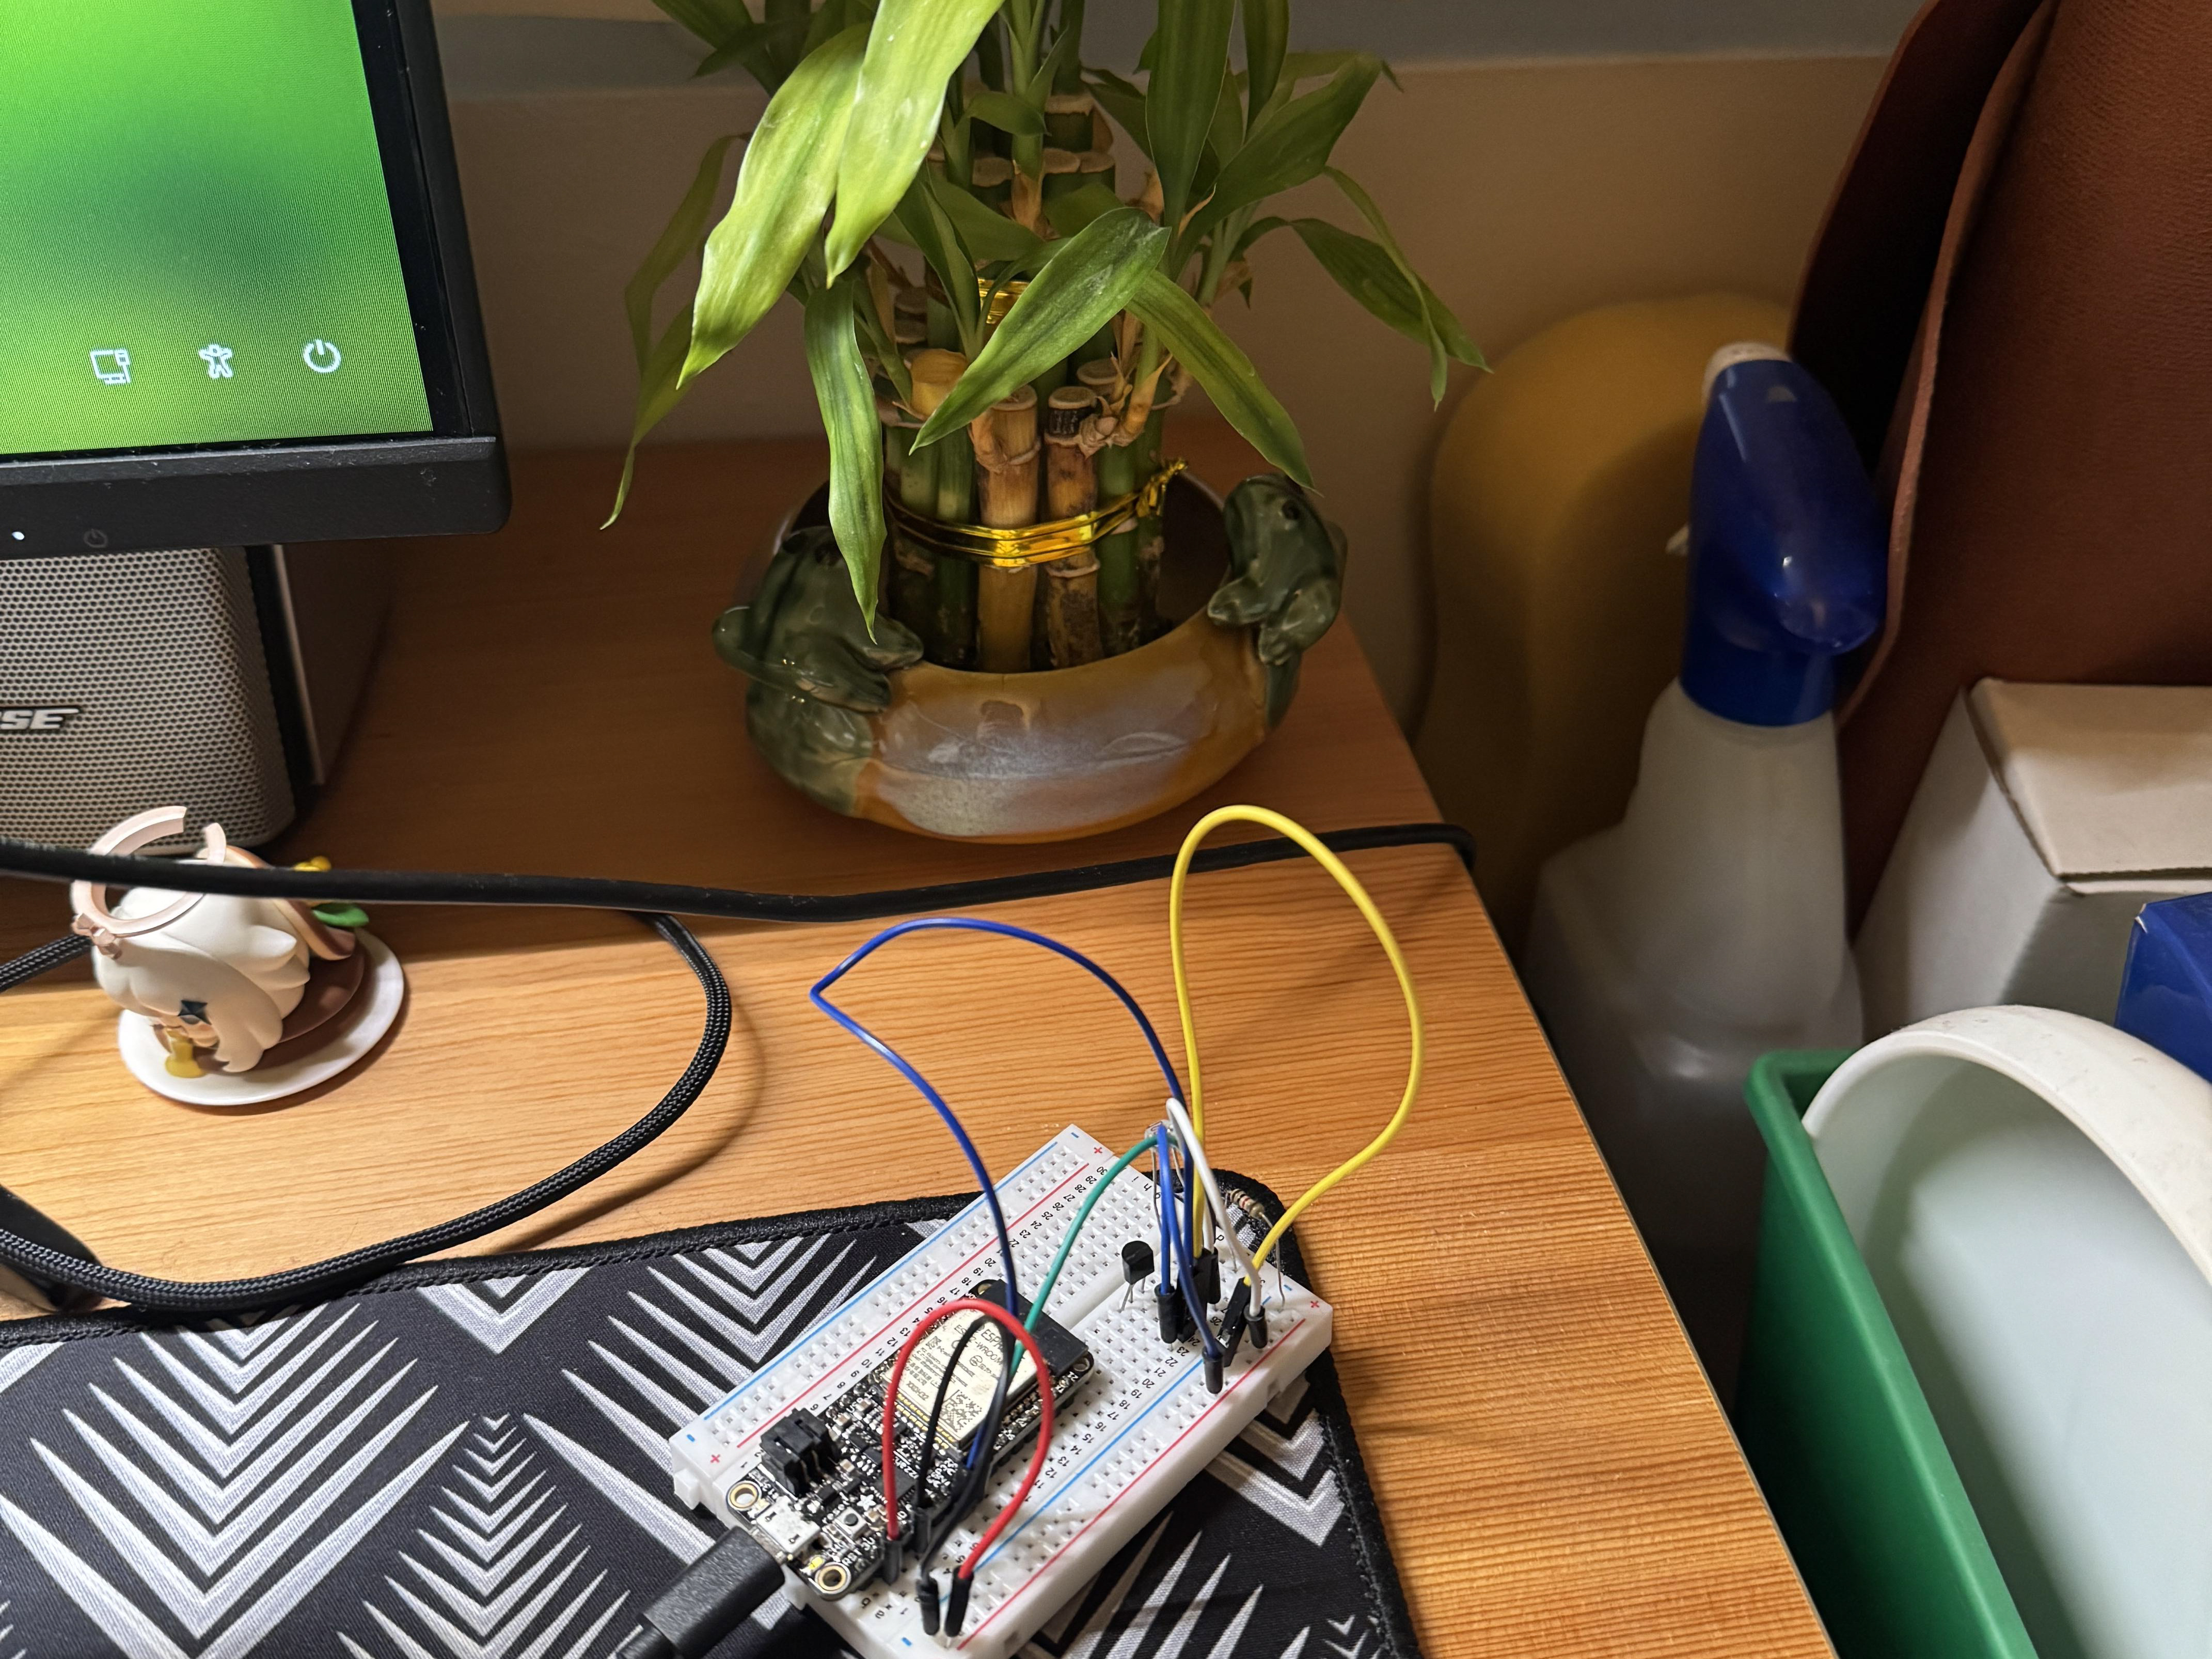
The hardware consists of an Arduino-based interactive system that integrates three primary components: a potentiometer, a photoresistor (light sensor), and a push button. Each component is designed to provide specific control inputs for the interactive music and visual interface:
Potentiometer (A0):
Function: Measures rotational position and sends analog values to the Arduino.
Purpose: Controls the size of the red circle in the Processing visual interface. Rotating the potentiometer adjusts the circle's size dynamically, simulating volume or intensity control.
Photoresistor (A1):
Function: Measures ambient light levels and sends analog values to the Arduino.
Purpose: Adjusts the brightness of the red circle in Processing based on light intensity. Bright environments produce a brighter circle, while dimmer light results in a darker circle, creating a visual connection between the environment and the interface.
Push Button (Pin 12):
Function: Sends a digital signal (pressed or not pressed) to the Arduino.
Purpose: Triggers the "kick drum" sound in the Processing interface. Pressing the button sends a signal to play the pre-recorded kick drum audio file.
Arduino Microcontroller:
Function: Processes input signals from the sensors and sends structured data (potentiometer value, photoresistor value, and button state) to the Processing sketch via Serial communication.
Purpose: Acts as the central hub for collecting sensor data and communicating with the computer for real-time interaction.
Sensors Used and Parameters Controlled:
Potentiometer (POT_PIN, A0): Controls the size of the red circle, providing a visual representation of its value.
Photoresistor (PHOTO, A1): Adjusts the brightness of the red circle based on ambient light levels.
Button (BUTTON, Pin 12): Triggers the kick drum sound when pressed.
Control Layout:
The potentiometer, photoresistor, and button are placed on a breadboard for easy access and usability during performance.
The controls are mapped to corresponding visuals and audio in Processing for intuitive interaction.
Housing and Triggers:
The Arduino is housed in a simple cardboard enclosure to protect the circuitry and keep the setup portable.
The button, potentiometer, and photoresistor are securely mounted on the cardboard surface for accessibility and durability during live use.


